
|
In the past I have written about Linux Containers (LXD), a light-weight visualization for Linux. And how it is much more IPv6-friendly than Docker. But until now, the management of LXD has been via the CLI command lxc.
There are other LXD GUI management projects, but LXD Dashboard not only runs in a container, on a host that is also managed by LXD Daskboard, but it can also manage LXD on remote hosts.
IPv6 Friendly
LXD is IPv6 Friendly, in that containers will obtain a SLAAC and/or DHCPv6 address, and get the same address after container restarts, or even through LXD host reboots.
This makes it easy to create a DNS entry for the Linux Container, since the automatically created IPv6 address is pretty much static.
LXD Interface
LXD is actually two parts, the lxd daemon, and the lxc CLI client which makes calls to the lxd daemon. This allows one to list, for example, the Linux containers which are running (or stopped) on a specific host.
$ lxc ls
+--------+---------+------------------------+----------------------------------------------+------------+-----------+
|  NAME  |  STATE  |          IPV4          |                     IPV6                     |    TYPE    | SNAPSHOTS |
+--------+---------+------------------------+----------------------------------------------+------------+-----------+
| alpine | RUNNING | 192.168.215.104 (eth0) | fd6a:c19d:b07:2080:216:3eff:fecf:bef5 (eth0) | PERSISTENT | 0         |
|        |         |                        | 2001:db8:ebbd:2080:216:3eff:fecf:bef5 (eth0) |            |           |
+--------+---------+------------------------+----------------------------------------------+------------+-----------+
| w10    | RUNNING | 192.168.215.225 (eth0) | fd6a:c19d:b07:2080:216:3eff:feb2:f03d (eth0) | PERSISTENT | 0         |
|        |         |                        | 2001:db8:ebbd:2080:216:3eff:feb2:f03d (eth0) |            |           |
+--------+---------+------------------------+----------------------------------------------+------------+-----------+
| w2     | RUNNING | 192.168.215.232 (eth0) | fd6a:c19d:b07:2080:216:3eff:fe7f:b6a5 (eth0) | PERSISTENT | 0         |
|        |         |                        | 2001:db8:ebbd:2080:216:3eff:fe7f:b6a5 (eth0) |            |           |
+--------+---------+------------------------+----------------------------------------------+------------+-----------+
| w3     | RUNNING | 192.168.215.208 (eth0) | fd6a:c19d:b07:2080:216:3eff:fe63:4544 (eth0) | PERSISTENT | 0         |
|        |         |                        | 2001:db8:ebbd:2080:216:3eff:fe63:4544 (eth0) |            |           |
+--------+---------+------------------------+---------------------------
Until now the CLI has been the way to manage LXD containers.
LXD secure management API
The LXD daemon has elevated privileges, since it is messing with routing tables and such to make networking work for the container. A secure socket can be enabled for remote management, usually on port 8443. To enable use the following command:
lxc config set core.https_address [::]:8443
It is possible to set a management password, but it more secure to use a certificate, which I’ll discuss later.
Conveniently, the LXD daemon listens on both IPv4 and IPv6.
Web-based LXD Managment with LXD Dashboard
There is an actively developed project by LXDware called LXD Dashboard The Dashboard runs inside a Linux container, and although it is recommended that one use a Ubuntu container, I find Alpine containers to be much smaller, and load faster.
After working with the author, he wrote up my notes as a nice how-to install on Alpine. There are some additional libraries which are needed under Alpine Linux. The how-to is pretty much a copy/paste the command lines needed to install the current release on an Alpine container. (v3.4 at the time of this writing).
After creating a container, I copy/paste the IPv6 address into my DNS, so I only need reference it by name, thereafter. Since Linux Containers keep the same MAC and IPv6 address, even after restarts, you only need to update the DNS once.
LXD Dashboard: first steps
Once the Dashboard is installed in a Linux Container, and you have nginx and php-fpm are up and running, it is time to point your web browser to the Linux Container. Since I use DNS, I just enter http://lxdware/ into the browser.
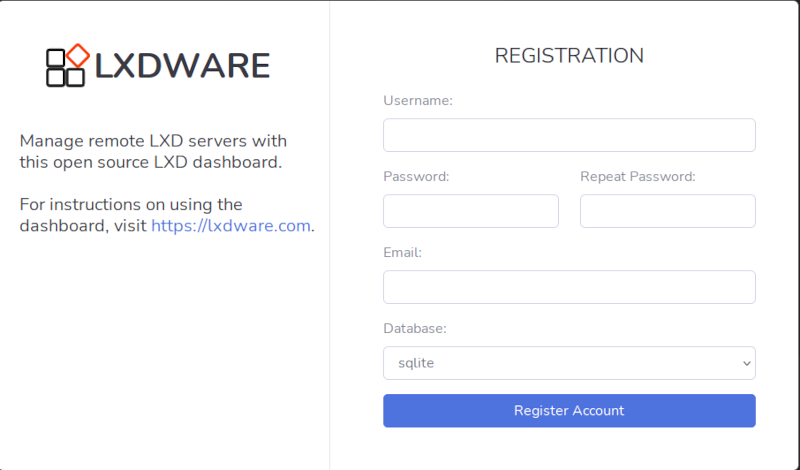
Initial Registration screen
LXD Dashboard will present an initial registration screen, where you can create a login. Be sure to make a note of your username and password, this will become the master admin user. After logging in (below), you can add more users.
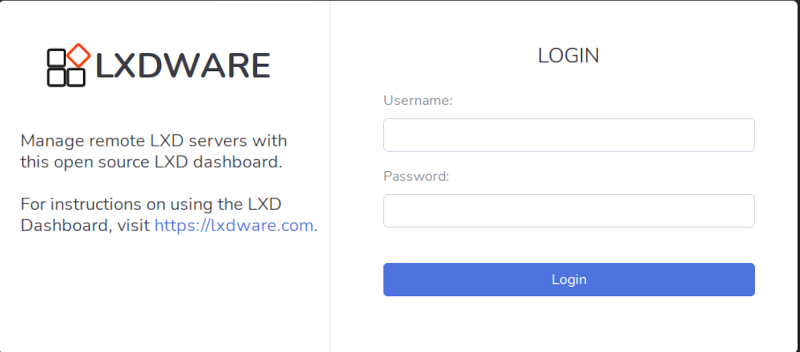
Logging into LXD Dashboard
Once you have registered, you can now log into the Dashboard using the same username and password entered at registration.
Adding Additional Users to LXD Dashboard
After logging in, you can add more users by clicking on your login name in the upper right hand corner, which opens a menu, select Settings.
Once in Settings, you can add additional users, which can belong to predefined groups, or add your own groups. The LXDWARE site has more info on Role Based Access Control (RBAC)
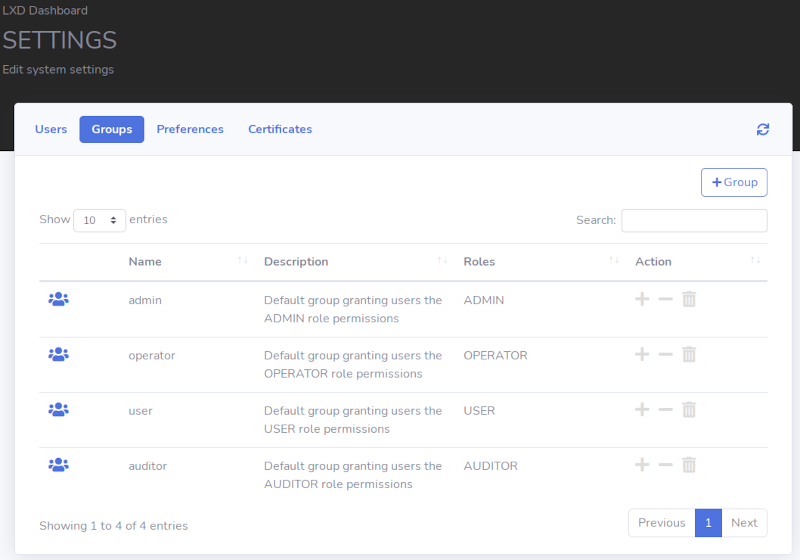
Other parameters such as adding your own certificates, or setting refresh timers can be adjusted in the Settings section.
Adding LXD hosts
There isn’t much to do with the Dashboard until you add one or more LXD Hosts. It is here, where we will use the Certificate method of accessing the LXD daemons. The steps are:
- Copy/Paste the LXD Dashboard Certificate to a file
- Transfer that file to the LXD Host
- Use
lxc config trust add <cert file>command to add the LXD Dashboard certificate to the LXD Host
Copying the LXD Dashboard Certificate
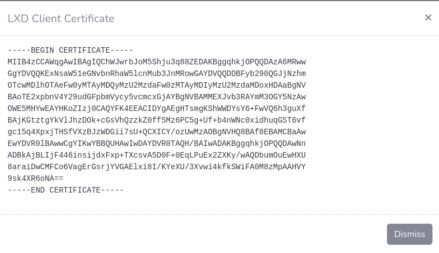
After logging in to LXD Dashboard, click on the View Certificate button to view the Certificate. Copy, then paste that into a file, and name it something like lxddashboard.crt
Transfer the Cert to the LXD Host
Use an IPv6-friendly tool, like scp to copy the certificate file to the remote LXD Host. Place somewhere convenient, like /tmp/
Add the Cert to the LXD Host
After sshing to the remote LXD Host, issue the following command to add the Certificate to the LXD daemon configuration
lxc config trust add /tmp/lxddashboard.crt
Back on LXD Dashboard, add the remote LXD Host
Now that the remote host is listening to port 8443 and now has the certificate from LXD Dashboard, it is time to add the host to the Dashboard. Click on the upper right button +Add Host
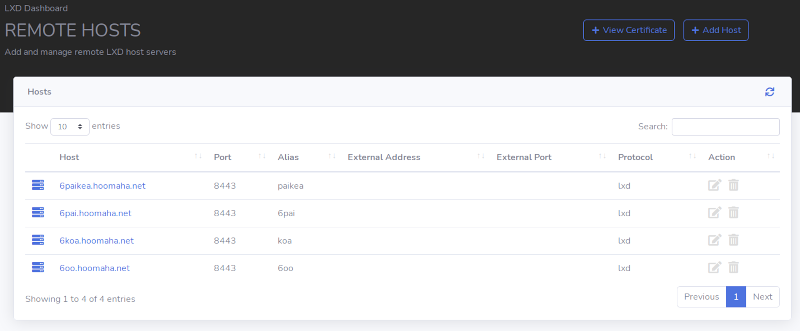
Fill in the info about the host. Since IPv6 is well supported, just enter in the DNS name of your IPv6 Host. Since we are using IPv6, we can ignore “External Address & Port” (IPv4 NAT items).
If you have more than one LXD Host, just click +Add Host again, and keep adding your LXD Hosts (be sure to add the Cert to the host first).
Start managing LXD with the Dashboard
Now that you have your LXD hosts added, you are ready to start/stop/launch containers. First let’s drill down on one of the LXD Hosts in your list.
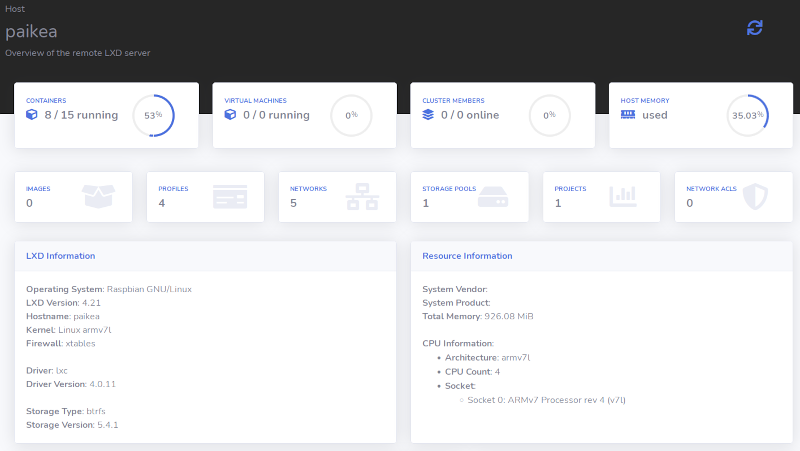
Paikea is a Raspberry Pi with 15 containers configured. Information about the host is shown on the bottom part of the screen.
Getting down to the containers
Clicking on the Containers will switch the display to a list of the containers running on my host Paikea. Be patient! Raspberry Pis are not the fastest machines on the planet, and LXD Dashboard asks for a lot of information from the LXD host.
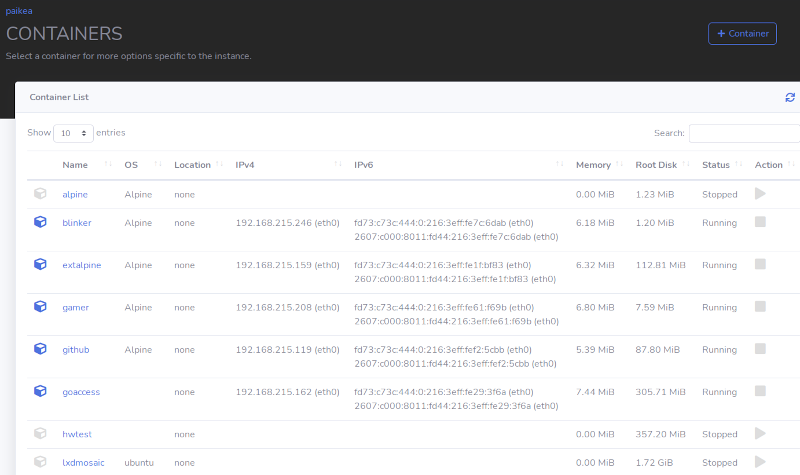
On the right side of each container line is that status (stopped/running) and a triangle/square button which will start/stop the container.
Looking at a single container with LXD Dashboard
Continuing to drill down, by clicking on a container name, it is possible to see more detail for that particular container, including how many processes are running inside the container and memory used.
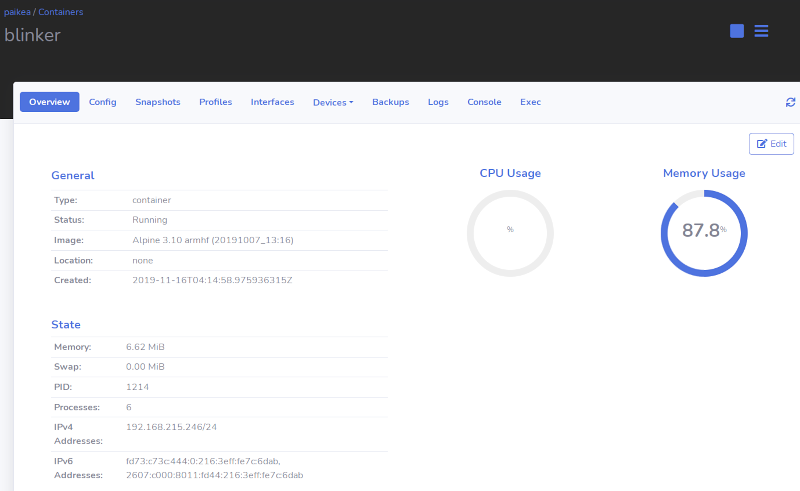
Along the top, are menu options to configure the containers, which interfaces, snapshots, etc. It is also possible to exec to the container which pops up a black screen and logs you into the container as root. This is all done using the LXD API over IPv6!
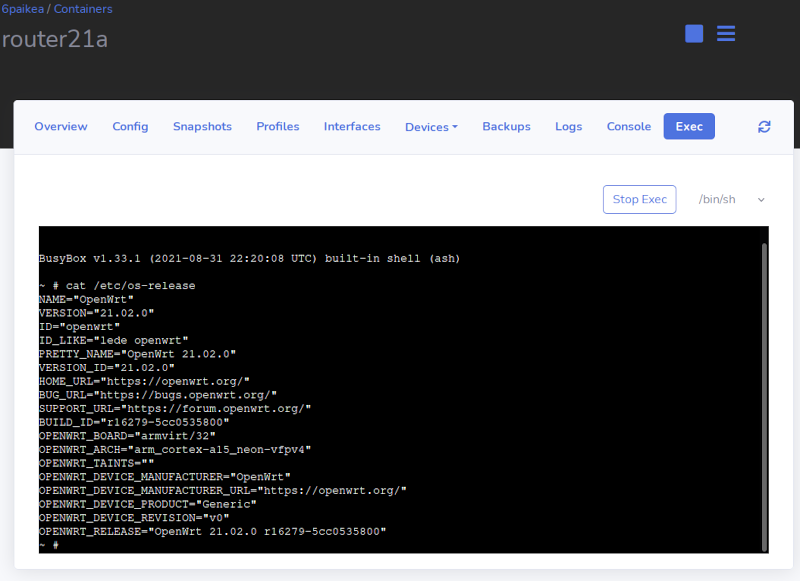
Above is an exec session to an OpenWrt Router running in a container
IPv6-enabled LXD Dashboard, ready for prime time
I have only touched upon basic container management with LXD Dashboard, but there is much more that one can do. Bringing a friendly web interface to LXD, which works well over IPv6 is great.
I have watched LXD Dashboard improve over the past year. The development is active, and the author welcomes suggestions for future versions. LXD Dashboard in a dual stack or IPv6-only network is a welcome addition to your Linux Container toolbox.
Happy Boys Day (5 May)